2. Map your farm
Kinoko allows users to chart their entire farm according to location, designating at least one location for each of the five steps in the mushroom growing process (pasteurization, inoculation, colonization, grow, and storage).
Within each primary (top-level) location, users can further refine their farm by creating sub-locations to delineate racks, shelves, and even individual slots on each shelf within the farm.
The level of specificity when creating locations is entirely customizable, with the understanding that greater specificity yields richer data but also requires more effort while scanning/transferring blocks and trays.
Create a location
After registering an account, we automatically created your first sub-farm. To create a new location:
- Select your sub-farm on the left side panel
- Click either 'Add locations to this farm' (only shows if you do not have any locations yet) or the 3 vertical dots next to your sub-farm name and then choose 'Edit locations':
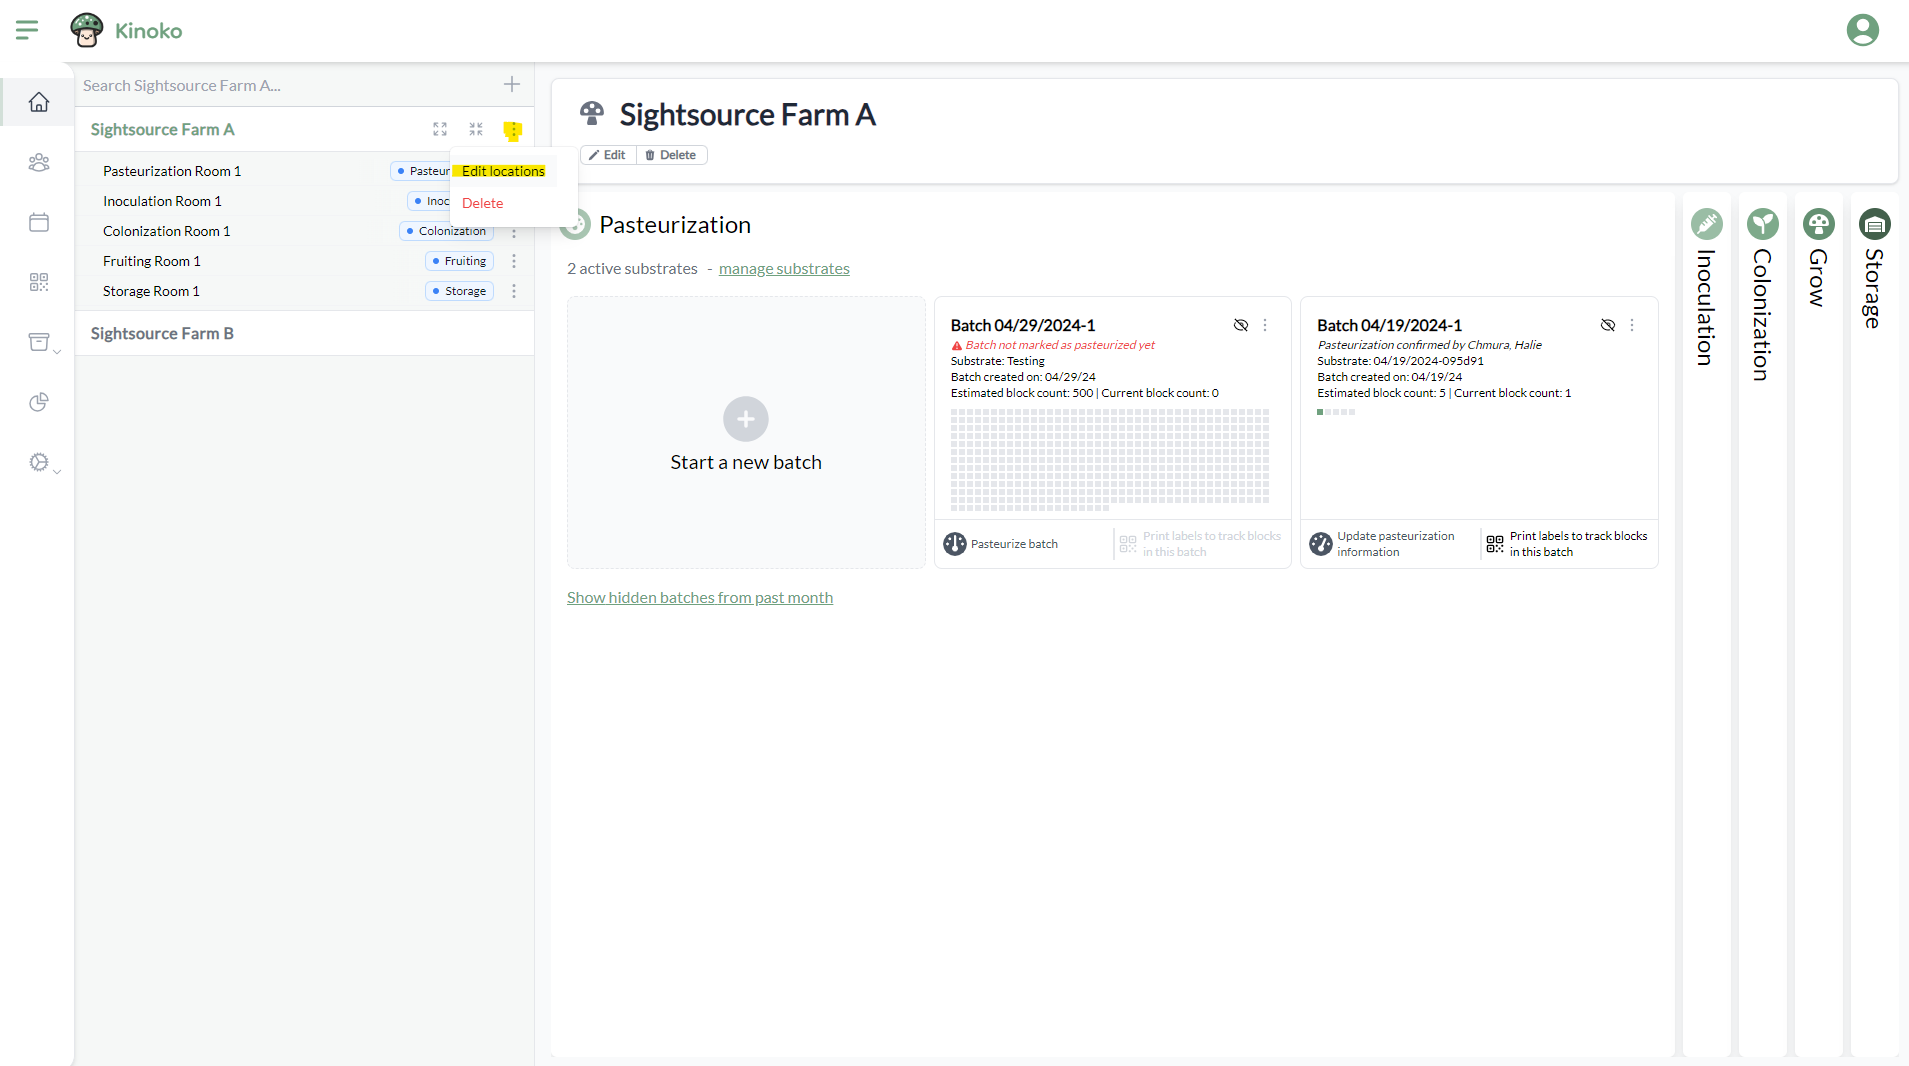
A side panel on the right will appear where you will be able to add and edit the locations under your sub-farm. Add top-level locations (rooms) by clicking 'Add room'. Add a room for each mushroom cultivation step.
Optionally, add sub-locations underneath each room. The 4 location types are:
- Room
- Rack
- Shelf
- Slot
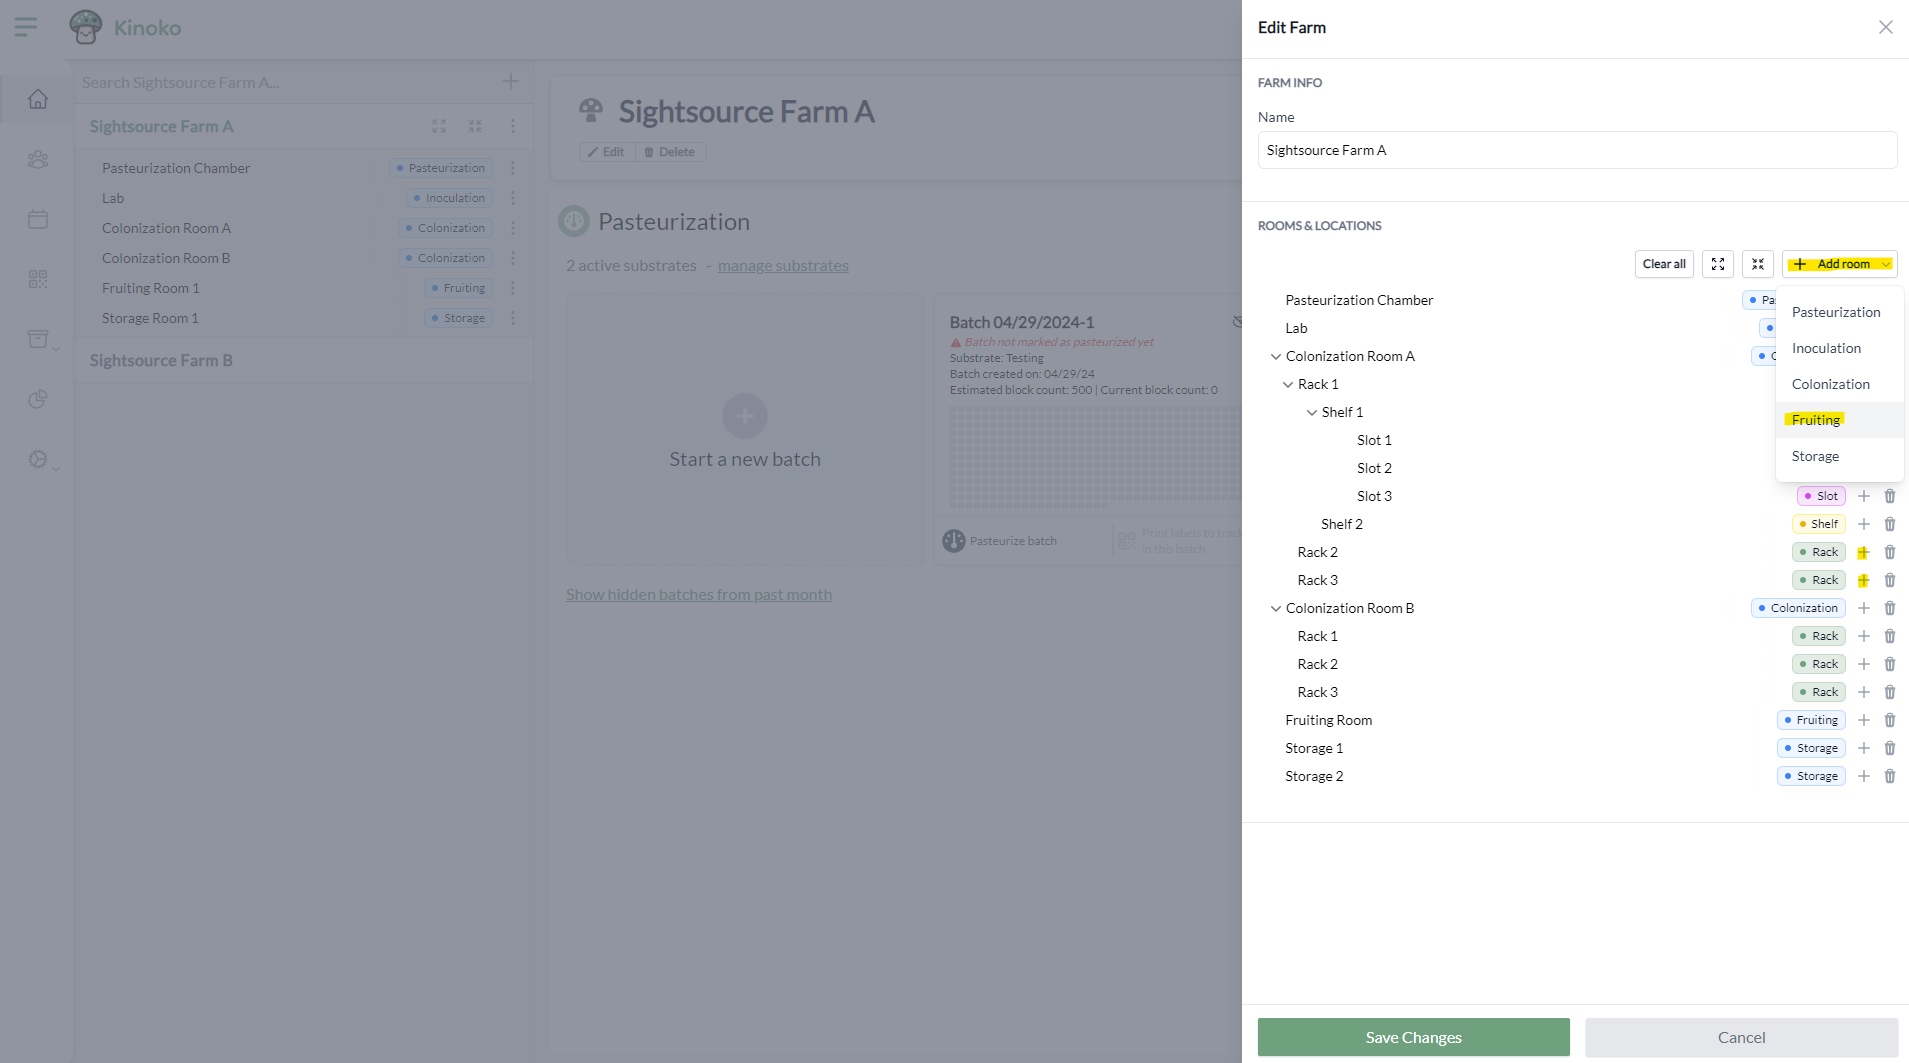
Locations of types pasteurization and inoculation cannot have any sub-locations.
[Optional] Print location QR code labels
If you plan on using the mobile app to track data (which we highly recommend for most operations), you will need to create labels for each of the locations you created in the previous step and physically place them throughout your farm.
Print QR code labels by navigating to the 'Label Generator' tab in the side navigation menu.
1. Choose template
Choose an Avery label template that best suits your needs, or create a custom template. Keep in mind factors such as size, material, and printer type when choosing your label template.
If you do not see an Avery template that suits your needs, message us and we will add it in! You can also create a custom template in the meantime.
2. Select locations to print QR codes for
Choose 'Start' on the 'Set Label Information' step and a modal will appear. To print QR code labels for the locations created previously, select 'Location' as the type of label and use the dropdown list to select your locations.
Ensure you click 'Add labels' and then 'Apply' to select the locations.
3. Preview pdf and print
After selecting the locations you would like to print, you can connect to a printer and hit 'Print' or download as a PDF.
4. Place your labels on the actual locations
After printing your locations labels, walk around your farm and apply the labels to the correct locations!